Best practice for backing up Kubernetes persistent volume claims (PVCs) should be offsite, preferably to a different cloud provider and location to your Kubernetes cluster. If you are happy to rely on server-side encryption (i.e. you fully trust the backup cloud provider with your data), you could use a tool like Velero. However, if you want client-side encryption of your data before it hits the remote provider, Velero only does this with a static key (see limitations section), which makes the client-side encryption worthless.
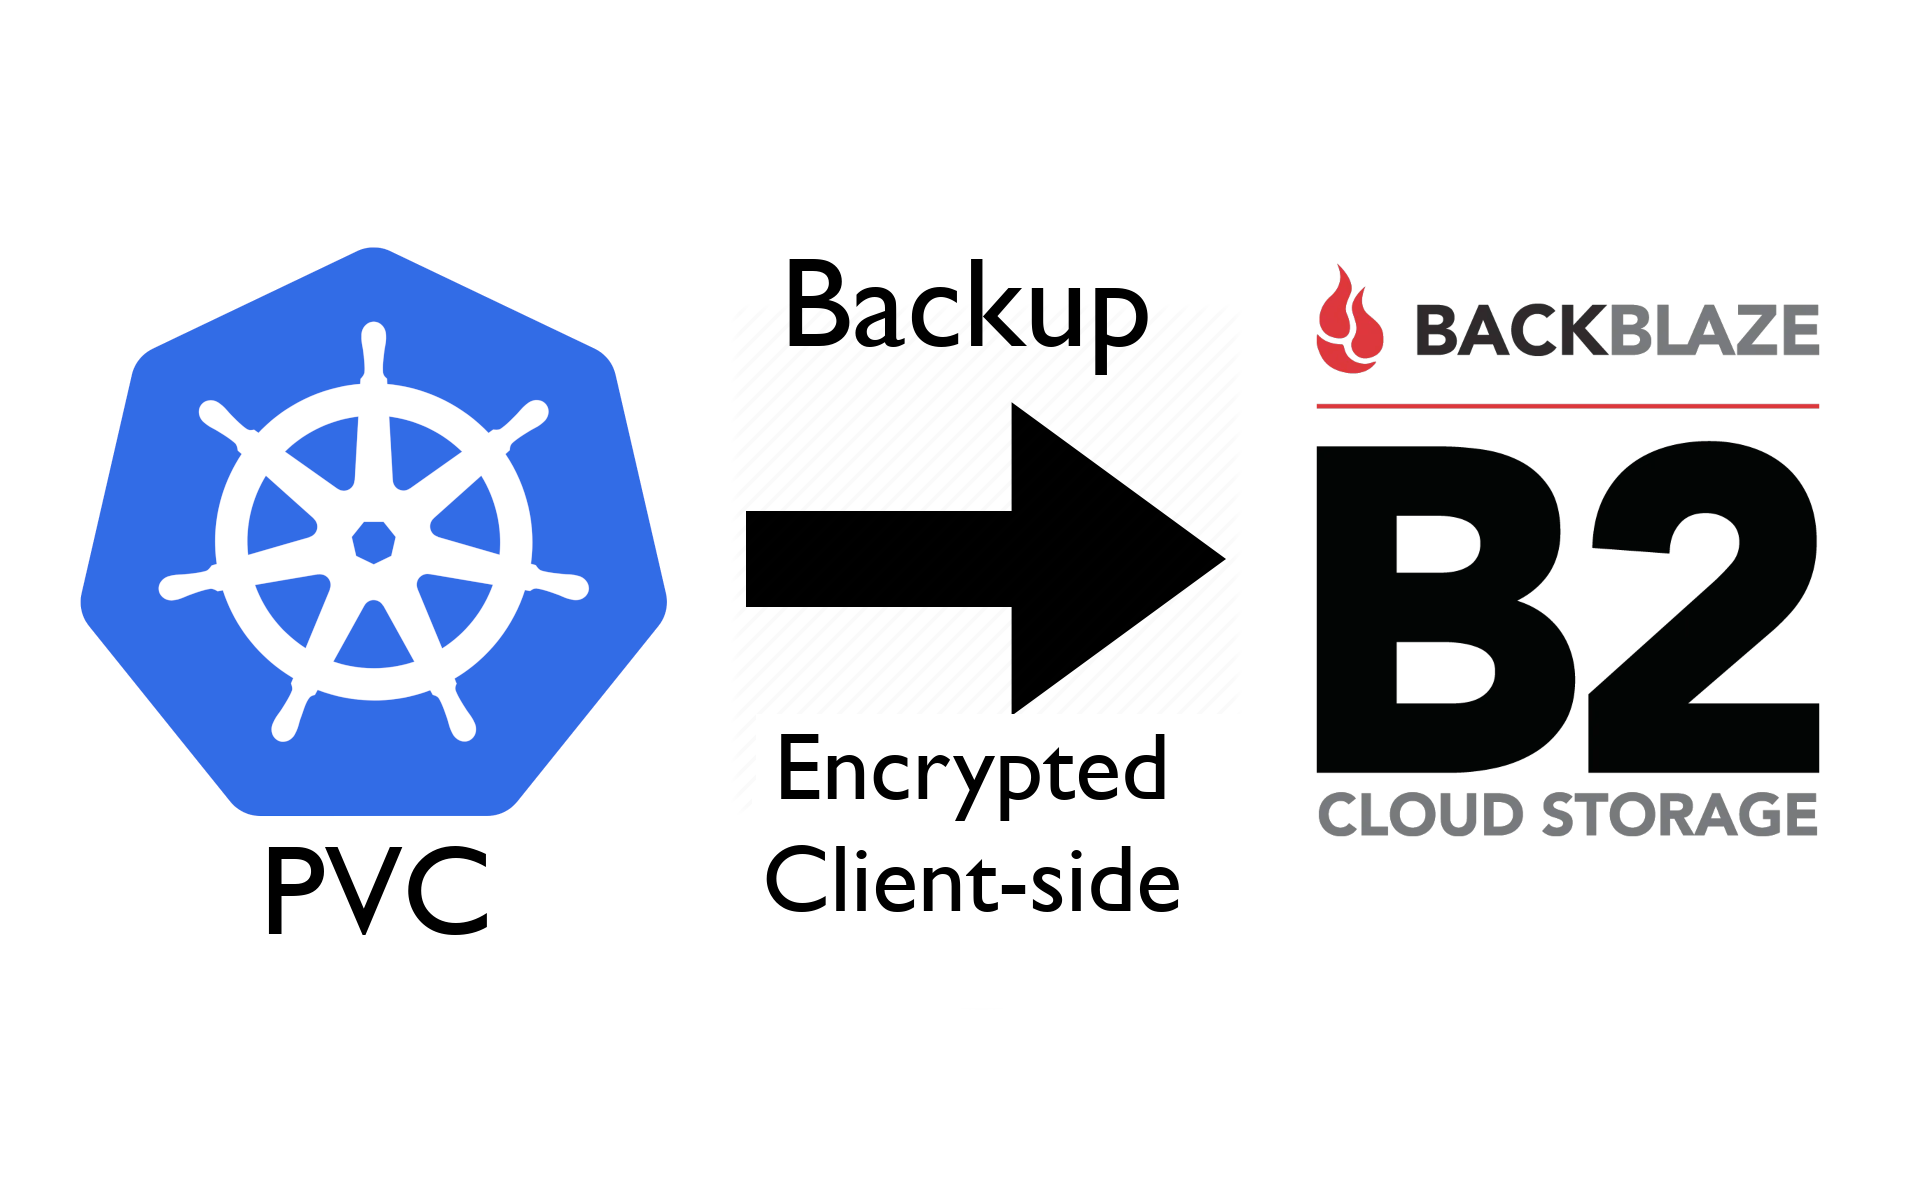
Here, I'll show you how to backup a Kubernetes PVC to a Backblaze B2 bucket using restic with client-side encryption. You should be able to follow the same procedure with any S3-compatible storage.
If you don't already have a Backblaze account, you can sign up to get 10GB free at the time of writing to try this out.
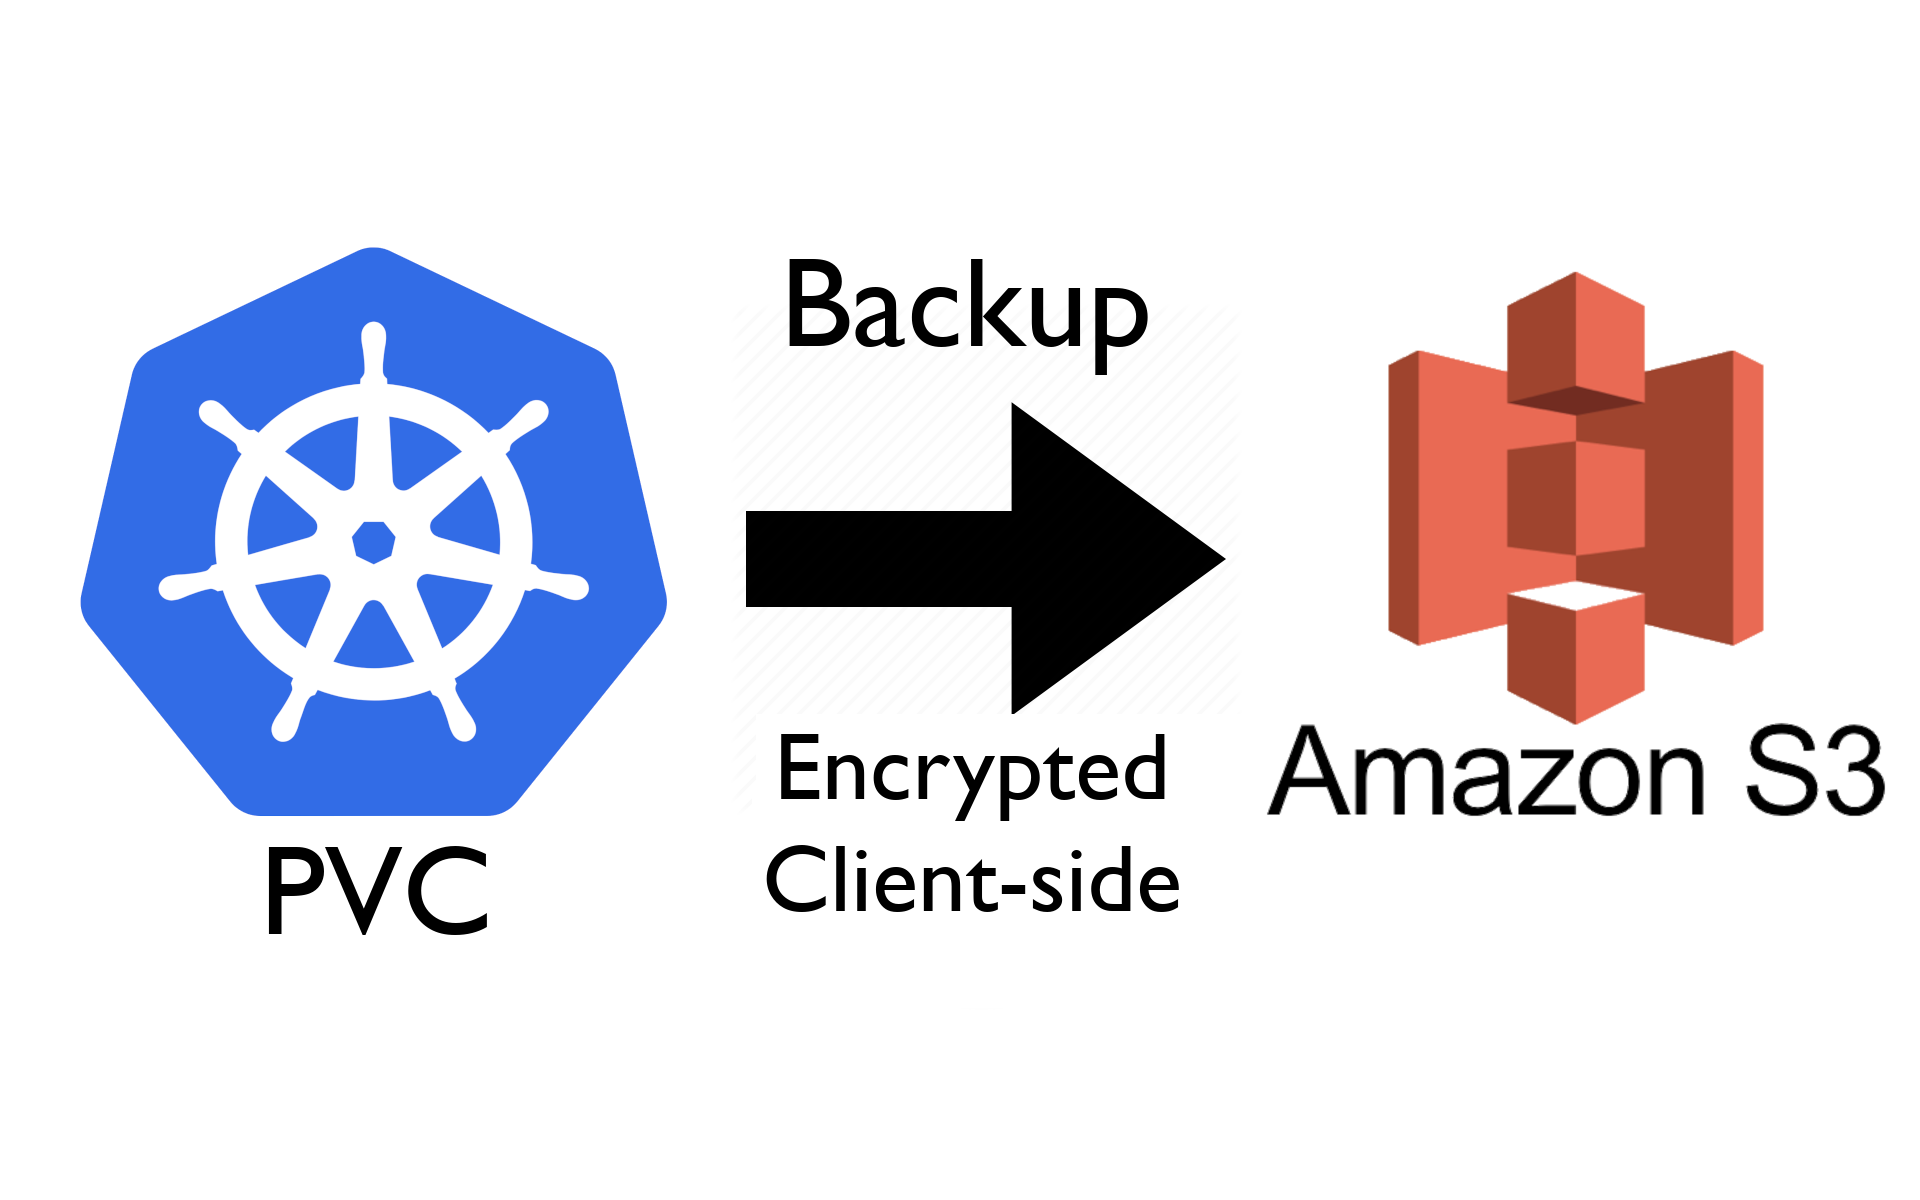
There's also a version of this guide for backing up to AWS S3.
I'll assume you have a PVC you want to backup (your-pvc) in a particular
namespace (your-ns).
Step 1: Create a B2 bucket and set of keys
First, you'll need to create a B2 bucket and create an application key. You can do this on the command line or using the Backblaze website as covered in the linked documentation.
When complete, you should have:
- A bucket name
- A key ID (API key ID) with access to the bucket
- An application key (API key value) with access to the bucket
Step 2: Clone the example repository
git clone https://github.com/alubbock/backup-pvc-examples
cd backup-pvc-examples/backblaze-b2
Step 3: Create a Secret with the access key and encryption key
Open the b2-secret.yaml file and set the bucket name, key ID and
application key from your B2 bucket. Note that the values should
be base64 encoded, which you can do with:
echo -n "some value" | base64
You also need to set a base64-encoded encryption key for restic to use. This can be any long random string - you can generate one like this on Linux:
tr -dc 'A-Za-z0-9!"#$%&'\''()*+,-./:;<=>?@[\]^_`{|}~' </dev/urandom | head -c 32 | base64
With the values in the secret set, apply the manifest:
kubectl apply -f b2-secret.yaml
Step 4: Edit and install the backup script
Open the cronjob-backup.yaml file and set the values marked with
"change me". Your cronjob will need to be in the same namespace
as the PVC you want to back up. Adjust the schedule to your needs
using cron syntax.
When ready, apply the manifest using kubectl:
kubectl apply -f cronjob-backup.yaml
Step 5: Initialise the restic repository
Restic requires that you initialise the repository before first use.
You can do this by generating a job from the cronjob, patching it
to run restic init rather than restic backup, and applying it
to run the job.
You can do this with a one liner, like this (replace your-ns with
your namespace):
kubectl -n your-ns create job --from=cronjob/restic-backup restic-init --dry-run=client -o yaml | kubectl patch --dry-run=client -f - --type=json -p '[{"op": "replace", "path": "/spec/template/spec/containers/0/args", "value": ["init"]}]' -o yaml | kubectl apply -f -
You can check the job log to make sure the initialisation worked:
kubectl -n your-ns logs -l job-name=restic-init
Step 6: Test the backup
You can manually create a job from the cronjob to test the backup like so:
kubectl -n your-ns create job --from=cronjob/restic-backup backup-test
And you can check the job log to make sure the backup worked:
kubectl -n your-ns logs -l job-name=backup-test -f
Example output:
no parent snapshot found, will read all files

Files:        1125 new,     0 changed,     0 unmodified
Dirs:           31 new,     0 changed,     0 unmodified
Added to the repository: 336.089 KiB (201.688 KiB stored)

processed 1125 files, 2.484 MiB in 0:08
snapshot 2445546e saved
Step 7: Set a backup retention policy
Restic will store all of your backups as snapshots in the bucket, so you probably want to have a cronjob to set an appropriate retention policy to automatically delete older backups.
Open the cronjob-backup-prune.yaml and edit the values marked "change me" to your needs. The restic docs describe the arguments to the forget command
and how they can be used to create a backup policy. Don't forget to include --prune at the end to actually delete expired snapshots.
Apply the prune cronjob like so:
kubectl apply -f cronjob-backup-prune.yaml
Optional: Test the restore process
It's always worth testing the restore process. Note that this will overwrite what's in your PVC, so if you have something writing live you should restore to a different PVC.
Open the file job-restore.yaml and set the values marked "change me". Note that you can restore any snapshot rather than the default "latest" - see the restic docs for more info.
Run the restore job like so:
kubectl apply -f job-restore.yaml
Again, you can check its progress by looking at the logs
kubectl logs -l job-name=restic-restore -f
Example output:
restoring <Snapshot 2445546e of [/data] at 2023-02-25 17:40:24.004351508 +0000 UTC by root@backup-test-w444l> to /data
Limitations and gotchas
A few things to be aware of:
-
This approach works by backing up a live filesystem, which is not ideal for anything requiring strong consistency guarantees like a database. In that case, you could use another approach like a Postgres Operator's integrated snapshot-based backups, or use the snapshot facility of your cloud's storage system (if supported) and backup that snapshot instead.
-
Make sure to offset the times of the backup and prune cronjobs - restic has a locking mechanism, so only one job will be able to access the backup repository at a time.
-
Restic's incremental backup system won't work if the keys are comprimised and an attacker deletes all the files, so it's best to set a lifecycle policy on the bucket to retain files for e.g. 30 days after deletion.
Conclusion
I've shown how to backup Kubernetes PVCs to Backblaze B2 using a tool called restic. This approach should work with any S3-compatible storage and it encrypts backups client-side.
I hope you've found the guide useful. Thanks for reading!