Backup a Mac to a Linux server over a network using Time Machine and Docker
Last updated: 2019-11-25

This is a quick guide on how to backup a Mac to a Linux machine over a network using Time Machine, a built-in backup tool for the Mac. This approach allows automatic backups to run without having to plug in an external disk. Backups can be configured to run overnight at a specific time, which is useful if you have a laptop that's not on your home network during the day.
For this you'll need a Linux computer to act as a storage server, with enough disk space available for the entire Mac hard disk. The Linux box will need to be kept switched on all the time for backups to be fully automatic.
Two services are needed on the Linux server:
Since a recent version of Samba is required, we'll use a tool called Docker, which allows you to get up and running quickly with a minimum of manual configuration. Docker runs pre-configured services in isolated environments called containers.
This guide uses the Avahi Docker container from solidnerd, and the Samba Docker container from dperson, the latter of which comes pre-configured with the Apple extensions for use with Time Machine.
This follows on from a previous tutorial where I covered how to convert an existing Samba server to Docker.
You'll need to run a few commands on the command line on the Linux box to get it set up.
We'll assume a user alex with password alexspasswd, and that the backups will be
stored in /home/alex/tmbackup/data, but you can change those details as needed.
Some commands are prefixed here with sudo, but if you're logged into the Linux box
as the root user, the sudo prefix can be removed.
Install docker and docker-compose using your package manager. For example, on Debian or Ubuntu:
sudo apt install docker.io docker-compose
Other Linux distributions may differ slightly - just look up "how to install docker-compose on CentOS", for example, in a search engine.
Create a new directory to store the configuration and backups. Here, we'll store the
configuration and backup data in two subdirectories, config and data:
cd /home/alex     # Change this as needed
mkdir tmbackup
mkdir tmbackup/config
mkdir tmbackup/data
Create a new file called docker-compose.yml in the /home/alex/tmbackup/config directory
with the following contents (you can use, for example, nano /home/alex/tmbackup/config/docker-compose.yml
to edit the file):
version: '3.4'

services:
 avahi:
   container_name: avahi
   image: solidnerd/avahi:0.7
   network_mode: host
   volumes:
     - ./avahi:/etc/avahi:ro
   restart: unless-stopped
 samba:
   container_name: samba
   image: dperson/samba
   environment:
     TZ: 'Europe/London'
   networks:
     - default
   ports:
     - "137:137/udp"
     - "138:138/udp"
     - "139:139/tcp"
     - "445:445/tcp"
   read_only: true
   tmpfs:
     - /tmp
   restart: unless-stopped
   stdin_open: true
   tty: true
   volumes:
     - /home/alex/tmbackup/data:/backup:z
   command: '-s "Time Machine Backup;/backup;yes;no" -u "alex;alexspasswd"'
Change the time zone TZ variable if desired (I'm not sure that it has any significant
effect), the location of the backup directory to match the directory you created above
(/home/alex/tmbackup/data), and the username and password, separated by a
semi-colon: alex;alexspasswd (you can set these to anything, but a hard-to-guess
password is recommended).
Initialise the Avahi configuration files
sudo docker create --name avahi-config solidnerd/avahi:0.7
sudo docker cp avahi-config:/etc/avahi .
sudo docker rm avahi-config
Disable DBUS on Avahi (DBUS is not needed)
sed -i 's/#enable-dbus=yes/enable-dbus=no/' avahi/avahi-daemon.conf
Create Avahi configuration to advertise Samba on the network
cat <<EOT >> avahi/services/smb.conf
<?xml version="1.0" standalone='no'?>
<!DOCTYPE service-group SYSTEM "avahi-service.dtd">
<service-group>
<name replace-wildcards="yes">%h</name>
<service>
  <type>_adisk._tcp</type>
  <txt-record>sys=waMa=0,adVF=0x100</txt-record>
  <txt-record>dk0=adVN=Time Capsule,adVF=0x82</txt-record>
</service>
<service>
  <type>_smb._tcp</type>
  <port>445</port>
</service>
<service>
  <type>_device-info._tcp</type>
  <port>0</port>
  <txt-record>model=RackMac</txt-record>
</service>
</service-group>
EOT
Start the Samba and Avahi services
sudo docker-compose up -d
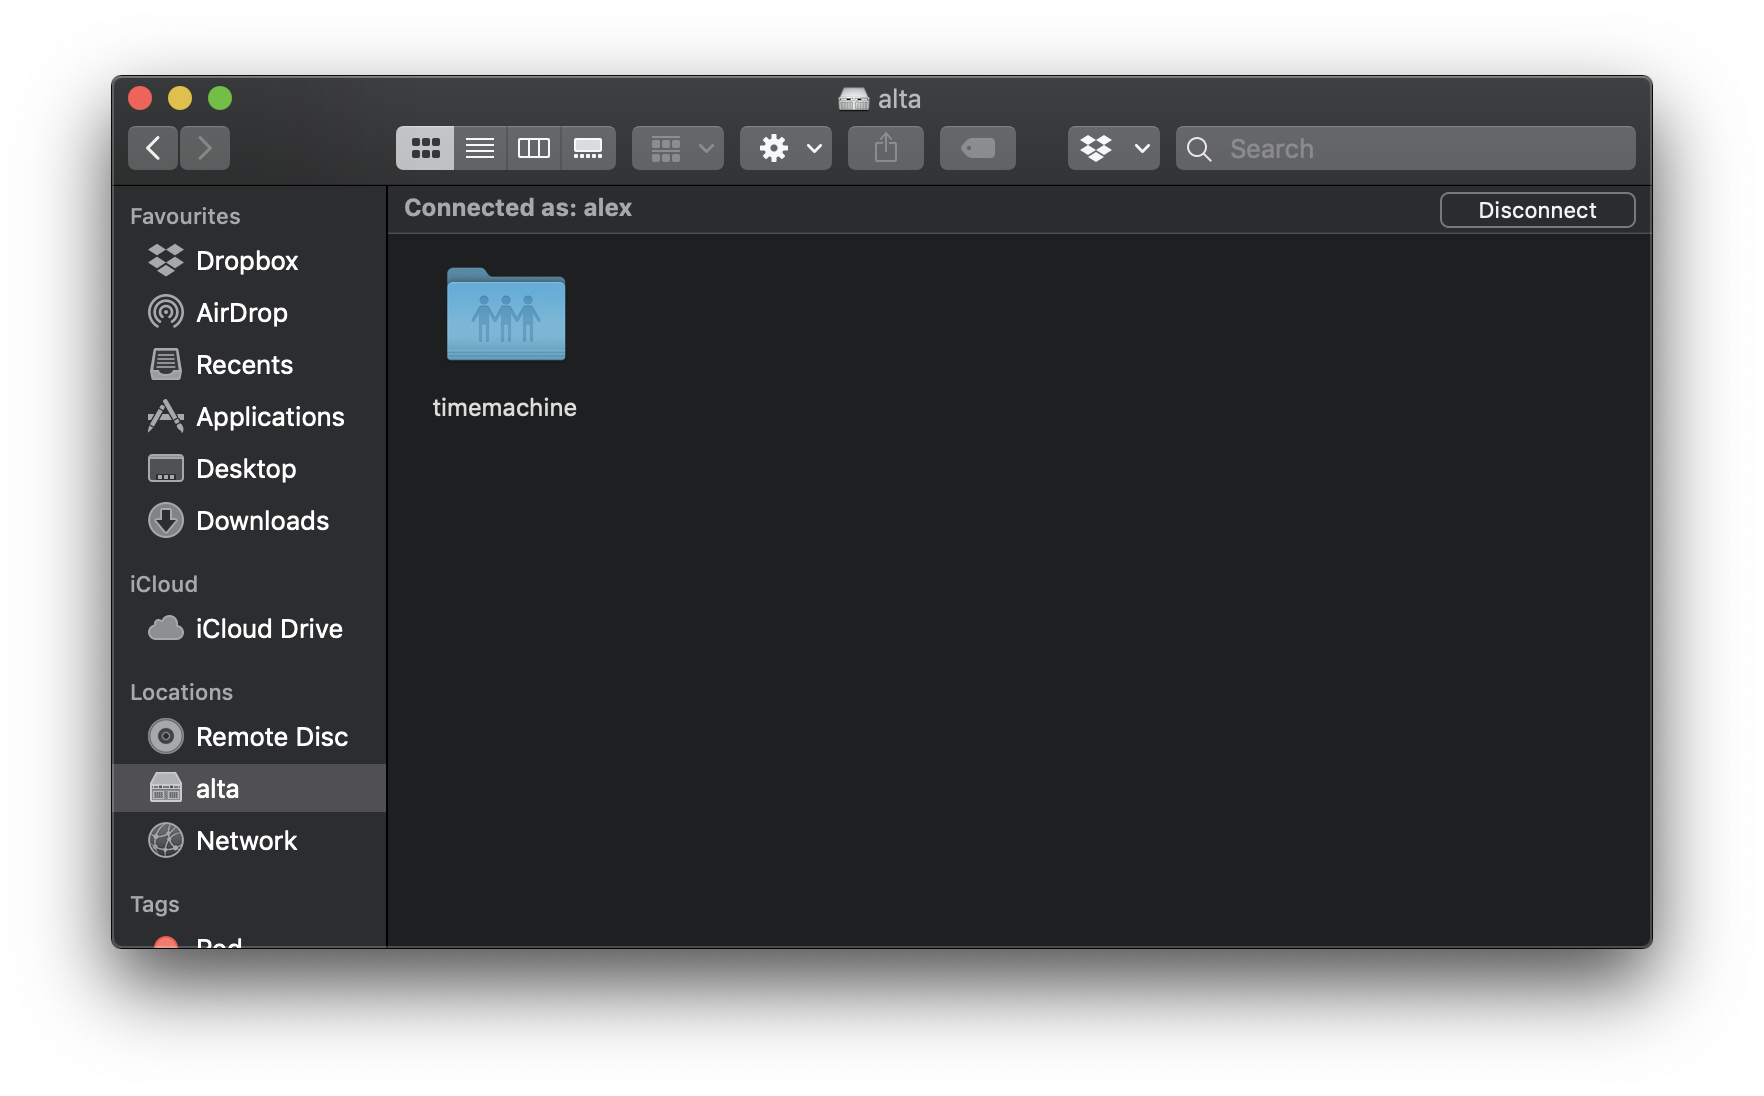
On the Mac, you should now see the Linux machine in the sidebar of Finder.
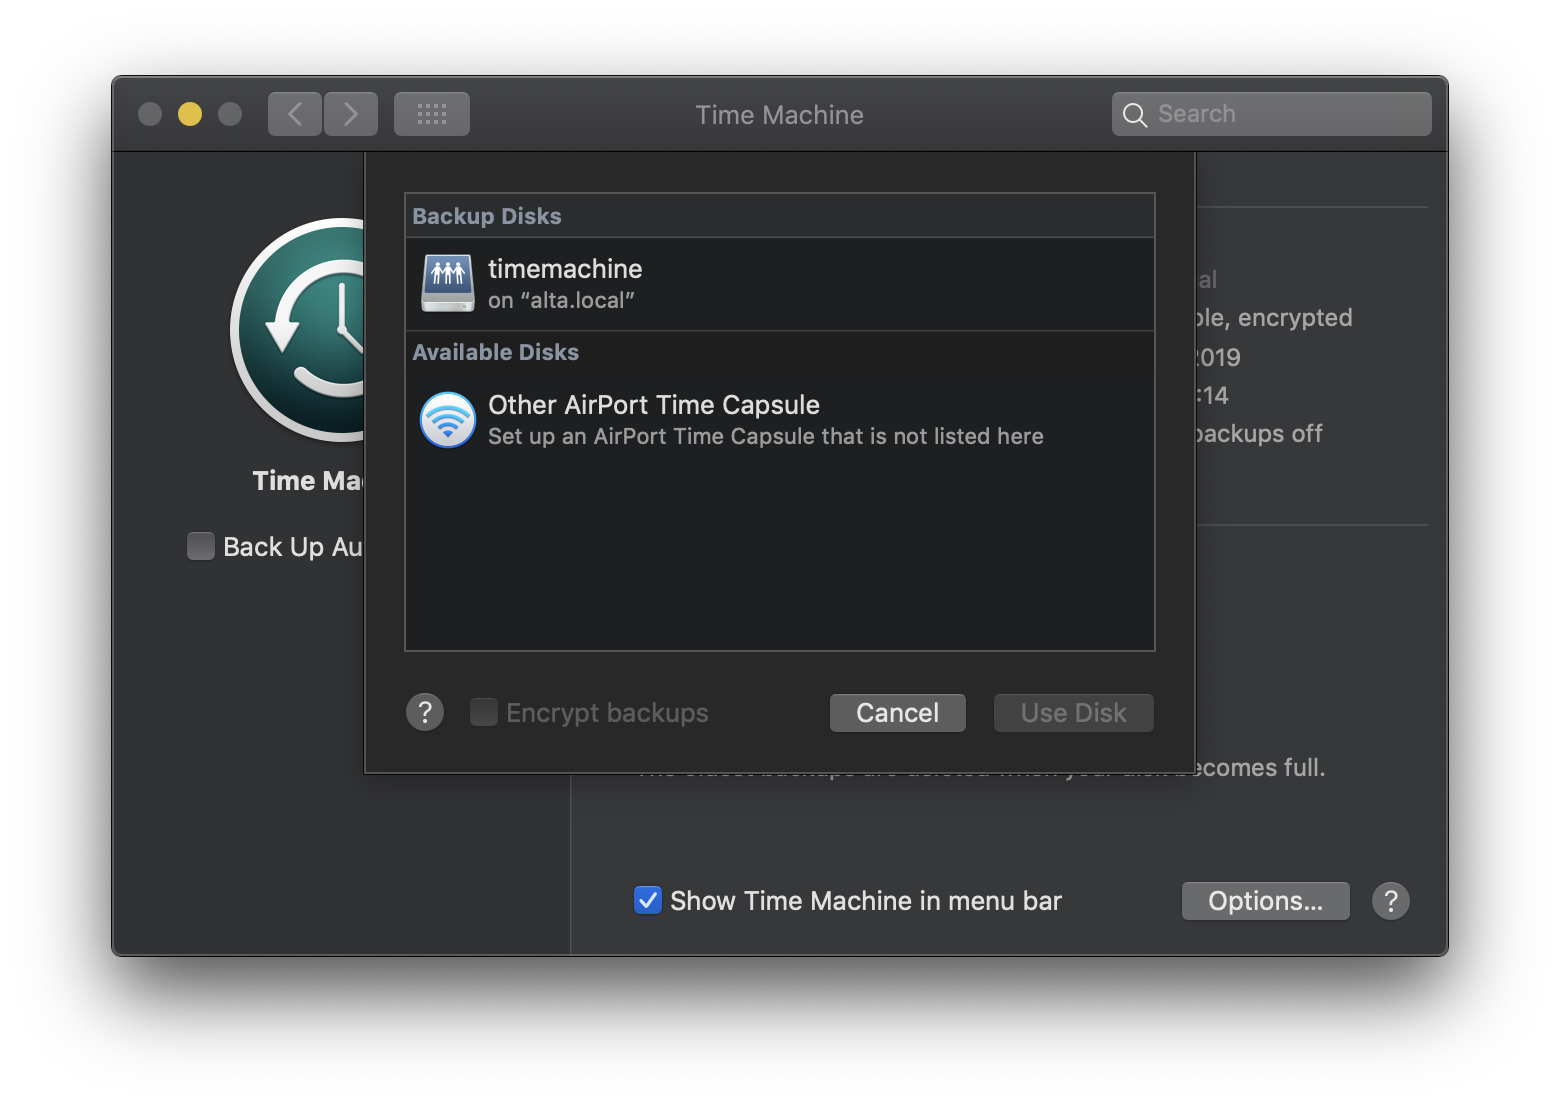
To configure the Mac to use the Time Machine backup, go to System Preferences, then Time Machine. Click Select Disk, and choose the name of the Linux machine.
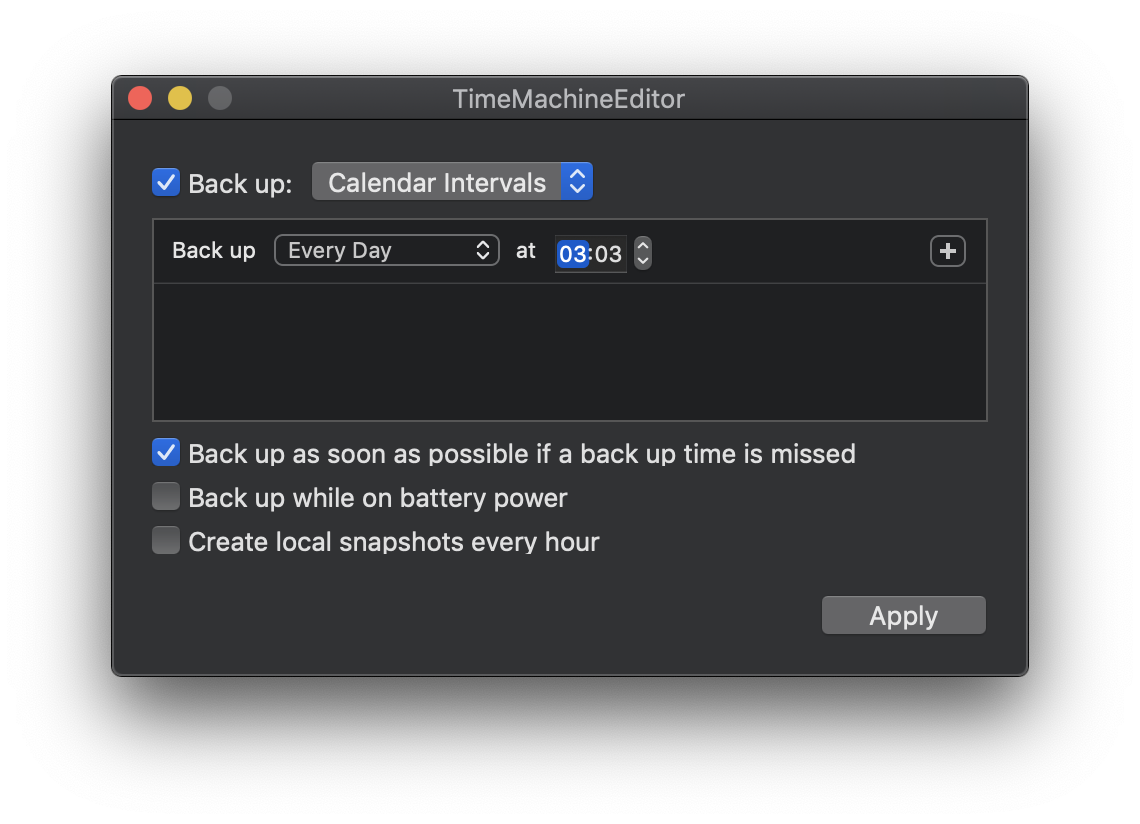
By default, Time Machine backs up hourly. This might be too frequent for your needs. Personally, I prefer to do a daily overnight backup. A free utility called Time Machine Editor can help you edit this configuration.
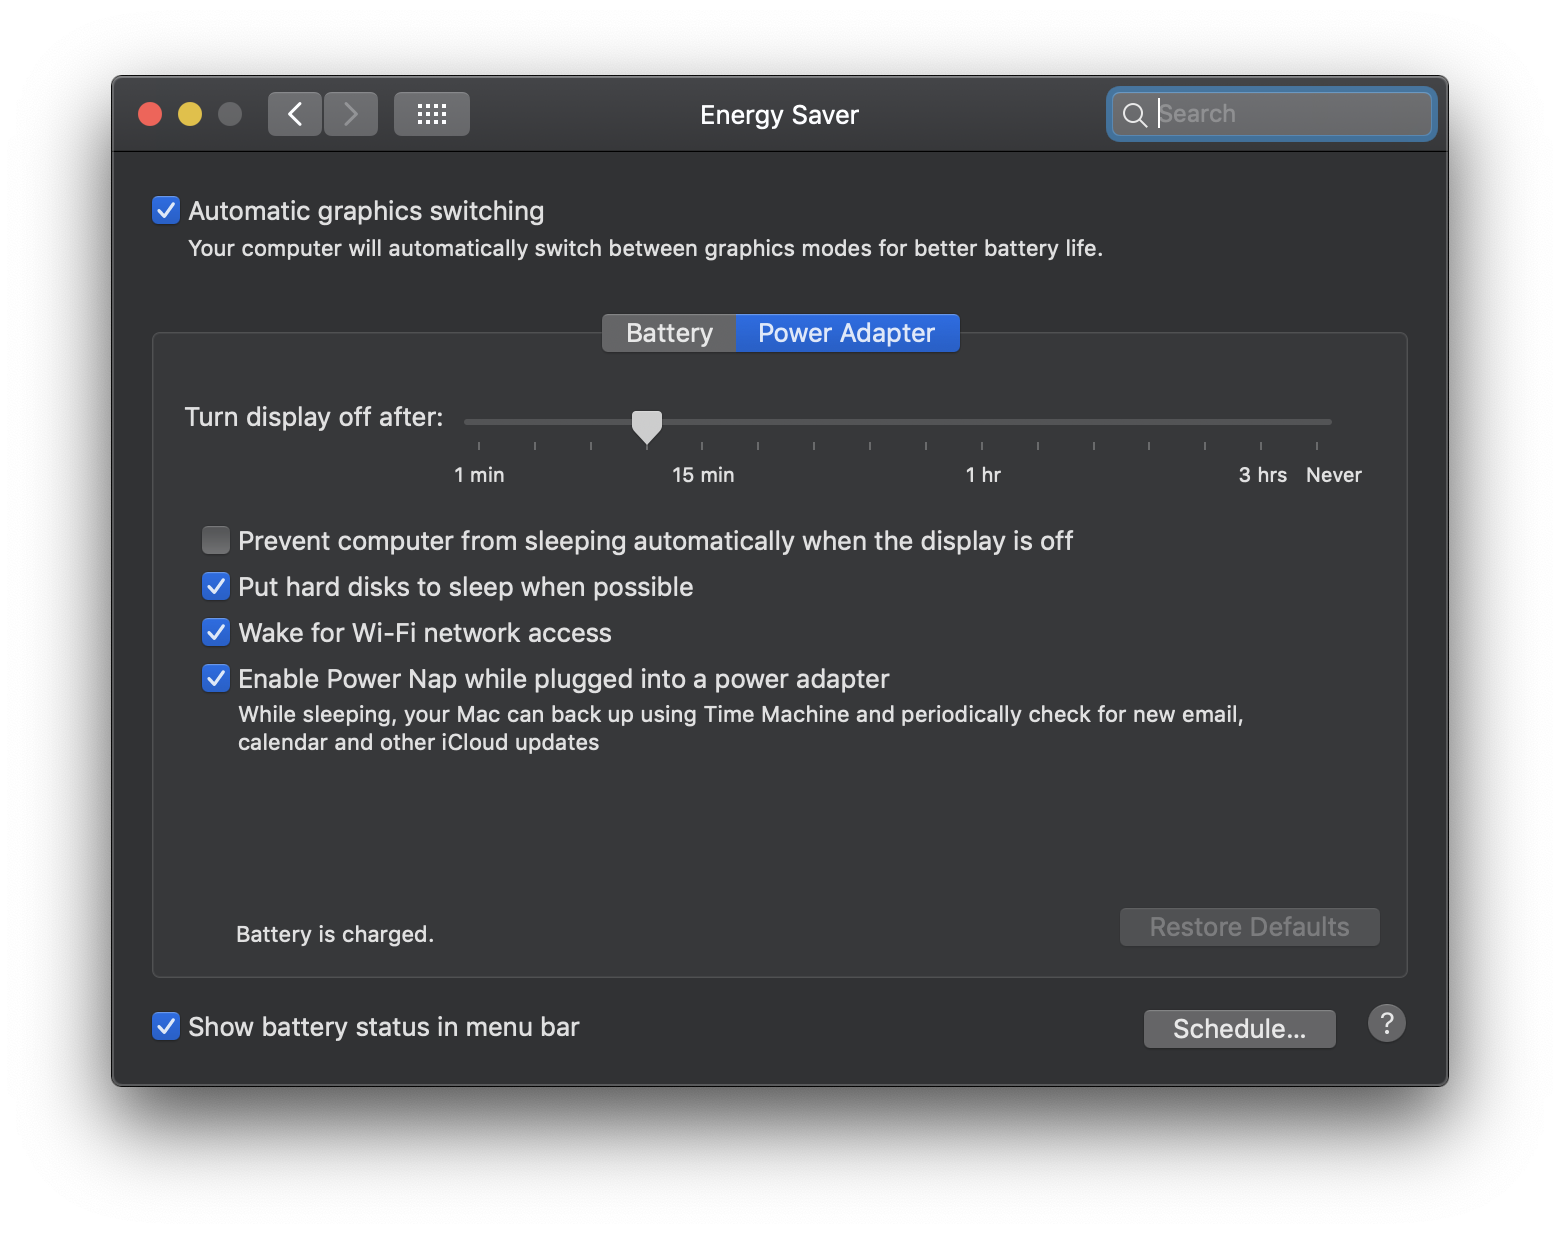
To enable the Mac to backup from sleep, you'll have to make sure a feature called Power Nap is enabled. From System Preferences, select Energy Saver, then the Power Adapter tab. Ensure the Power Nap feature is enabled. This allows the Mac to backup overnight even when it's asleep, provided it's connected to mains power. You'll have to make sure the Linux machine is awake, too.
This guide covered how to backup a Mac over a network to a Linux server. Docker is used to configure the Linux box as a file server using Samba, and Avahi is used to advertise the file share for automatic discovery.
Thanks for reading!